
Cooking my first turkey
A beginners guide (courtesy of my grandma)
December 1, 2016
I’m going to be honest, when I first started the process of preparing a turkey, I had no idea what to do. I went to the store, bought a turkey, opened it and thought, “What in the world did I get myself into?” The only thing I knew how to do was preheat my oven to 350 degrees. Despite my questioning thoughts, I set out to make my first turkey.
Once you’ve opened up your turkey and preheated your oven, the first step is to clean out the insides. Let me tell you, this step absolutely horrified for me. I had about fifty pairs of gloves on and was still terrified to put my hands inside the turkey and take out all of its remains. I was about ready to throw in the towel.
I had no idea what to do next and still nauseous from seeing all the blood pour out of this dead bird. Now, I could have googled a recipe or I could have bought a How to Cook a Turkey for Dummies book but instead, I called someone who would provide me with detailed instructions, someone who’d want to see me succeed, someone who has perfected the art of cooking turkeys ‒ my grandma.
After explaining my situation she said, “Oh, sweetheart. It would have been much easier if you just googled it instead of making it yourself.” My grandma has a lovely sense of humor.
Once she finished laughing at her granddaughter, the baker (not the cook), she provided me with the easiest and most detailed instructions a first-time turkey maker could ask for.
So today, I am providing you with step-by-step instructions on how to cook a turkey, provided by my grandma.
Once the inside of your turkey is cleaned out, you want to make sure you rinsed it thoroughly. The next step is to dry your entire turkey ‒ no excess water should be dripping from your bird. Then, you want to cover your entire turkey in either oil or butter. I used canola oil and rubbed it all over the turkey.
After your bird is lathered in oil or butter, add seasoning. I kept it simple and covered the entire turkey in salt and pepper. Additionally, I poured some poultry seasoning on the inside of the bird.
Next, take your turkey bag, add a tablespoon of flour and shake. This is an important step because the flour prevents the bag from popping. After your bag is covered in flour, all that’s left is to put your turkey in the bag and transfer it, breast side up, into a glass or aluminum pan. You then cut four slits across the top of the bag and put it in the oven. Now you just wait for 3 hours, checking every hour until it’s cooked to your liking.
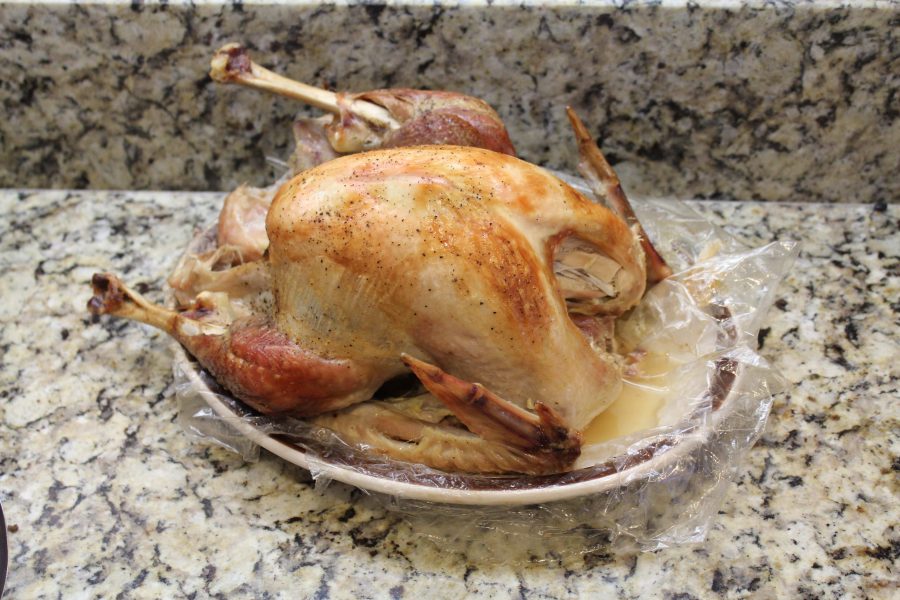
My turkey actually came out great, to my surprise. I won’t be cooking turkey for my family’s Thanksgiving, but I can say with confidence that I have added this skill to my repertoire. I highly encourage you to try it out for yourself. If I can do it, so can you!